Hey there, friends! Welcome back for Day 4 of the March Papertrey Ink Release Countdown. It's been an absolutely amazing countdown so far, hasn't it? Today, I'm thrilled to be sharing my very first featured post with you, using the new Bold Borders: Diagonal + Sentiment Staples: Thank you.
**Just a reminder that all of the new products will be available in the Papertrey Ink store on March 15th at 10pm EST.**
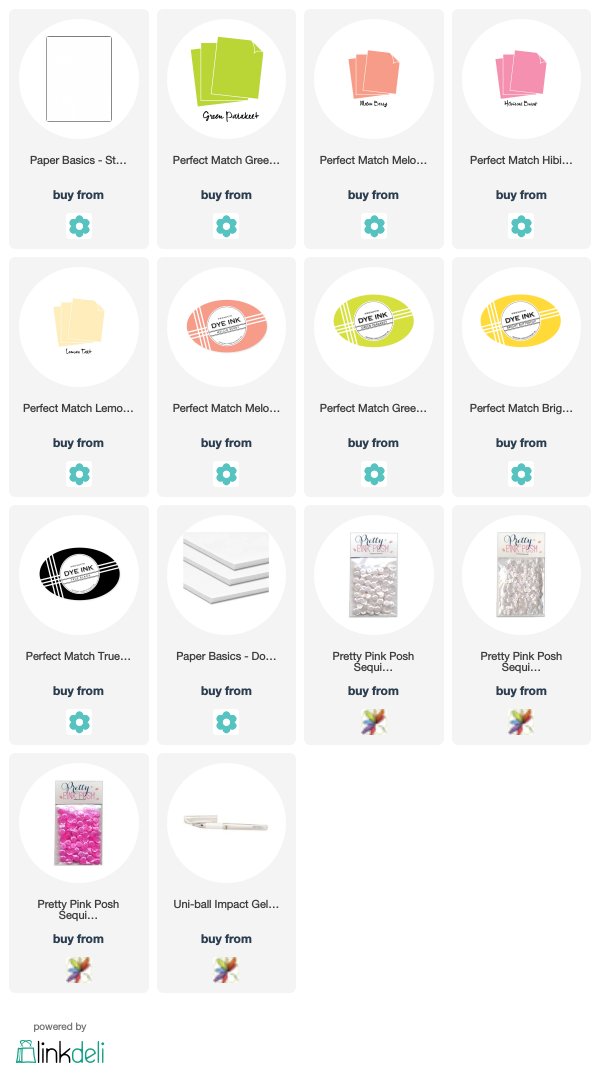
The second I saw the new Bold Borders: Diagonal die I knew exactly what I wanted to do with it. I love, love, love color and love filling in the negative spaces of dies to create the most colorful projects. That's just what I did with this new die. I simply die-cut five of them, one out of white to use as my base, and four more colorful ones to fill in those empty spaces in the white one.
I chose Melon Berry, Hibiscus Burst, Lemon Tart and Green Parakeet for my color combo. A nice springy color combination! The easiest way to fill in the empty spaces for me is to flip the main die-cut image over so it's face down on my work surface. In this case it would be the white one. Then I just start filling it in with all the colorful diagonal pieces. I usually do a few at a time and then to secure them in place add a strip of scotch tape. I keep repeating the process until it is completely filled in!
Before adhering it to my card base I added dimensional foam on the back to give it a little lift. I then started working on embellishing with butterflies from Butterfly Blooms and a sentiment from the new Sentiment Staples: Thank You.
Using my white gel pen I added polka dots to the bodies of the butterflies and a few clear and hot pink sequins around my sentiment!
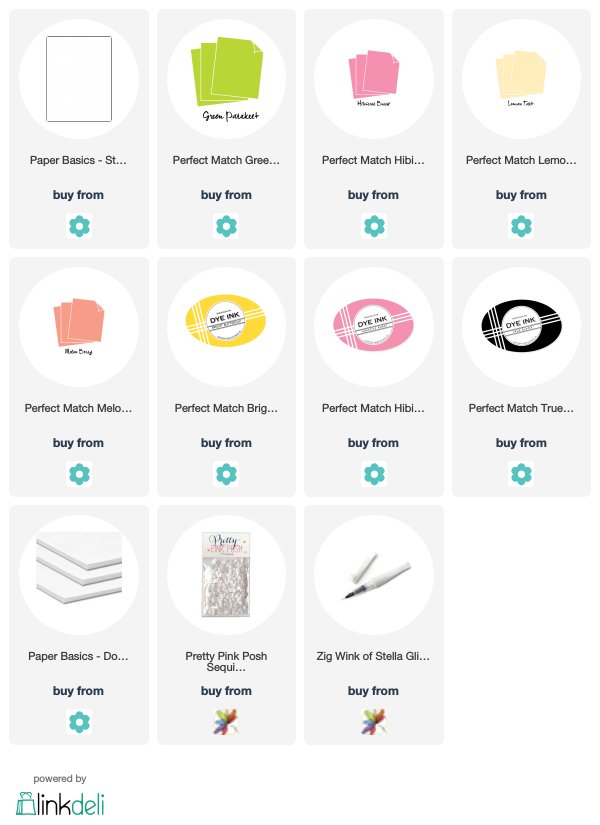
Sticking with the same color combination, I created this second card doing something a little different with the Bold Borders: Diagonal die. I die-cut it four times, in the same colors I did on the first card, and then cut them up so I could create a multi colored frame.
After creating my colorful frame on the front of my white card base I moved onto the center. I stamped the butterfly from A Bit More: Butterfly Blooms and just below stamped the 'thank you' from Sentiment Staples: Thank You. I stamped the remainder of my sentiment onto a strip of white cardstock and popped it up with a strip of dimensional foam.
I then attached the whole rectangle to the center of my frame with more dimensional foam and finished it off by adding a few clear sequins to the body of my butterfly.
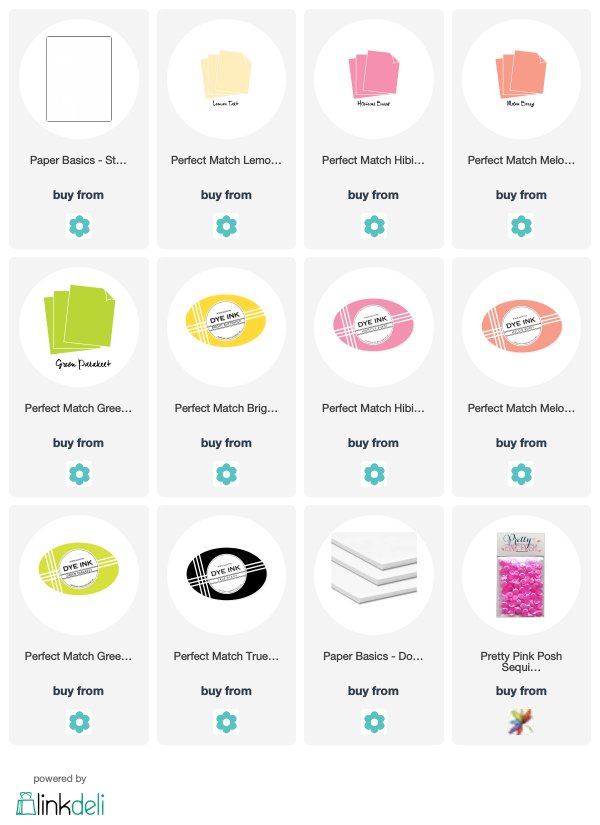
I kept my last card for the day super sweet and simple using the Sentiment Staples: Thank You stamp set. There wasn't a whole lot needed to create this...just a few strips of colorful cardstock and a simple flower die.
I used two of the 'Thank You' images in the set and stamped each one twice. I popped them up on my card front with dimensional foam ( I LOVE dimension...can you tell? ;) and then stamped the remainder of my sentiment in black ink onto a strip of white cardstock. That was also popped up and then a flower (from Butterfly Blooms die collection) was added.
A simple pink sequins added to my flower was all I needed to complete it!
I hope you enjoyed my projects today. I know I enjoyed creating and sharing them with you. Thank you for taking time out of your day to visit with me. I sure do appreciate you!
And please be sure and pop on over to the Papertrey Ink blog and visit my talented teammates. You won't want to miss what they are sharing.
Have a great day, friends!
SUPPLIES:
CARD #1 : YOU'RE THE BEST - THANK YOU

CARD #2 : THANK YOU - YOU'VE BEEN SO GENEROUS

CARD #3 : THANK YOU - I'D BE LOST WITHOUT YOU


Melissa I love your cards! That diagonal border die is fantastic too! Your cards always bring a smile to my face!
ReplyDeleteI love the border die! I too like the fussiness of filling in the spaces with other colors. I can't wait to use this die - very versatile. Your cards are so colorful and happy - nice job!
ReplyDeleteGorgeous work! You've used such fresh cheery colours on your cards, perfect for spring and summer.
ReplyDeleteThese are just beautiful Melissa.
ReplyDelete