
Happy Friday, friends! Today I'm sharing a cheerful card featuring a fun background I created with the Bold Borders: Polka Dots die from Papertrey Ink. I adore these dies and am always looking for different ways to extend the use of products I have on hand. I thought this die was the perfect product to do just that and create my own stenciled background.

All I used to create my stencil was cardstock and the die, that's it! After I die-cut my 4.25 x 5.5 panel, I simply placed it over the front of my card base and taped it down, around the edges, to hold it in place.

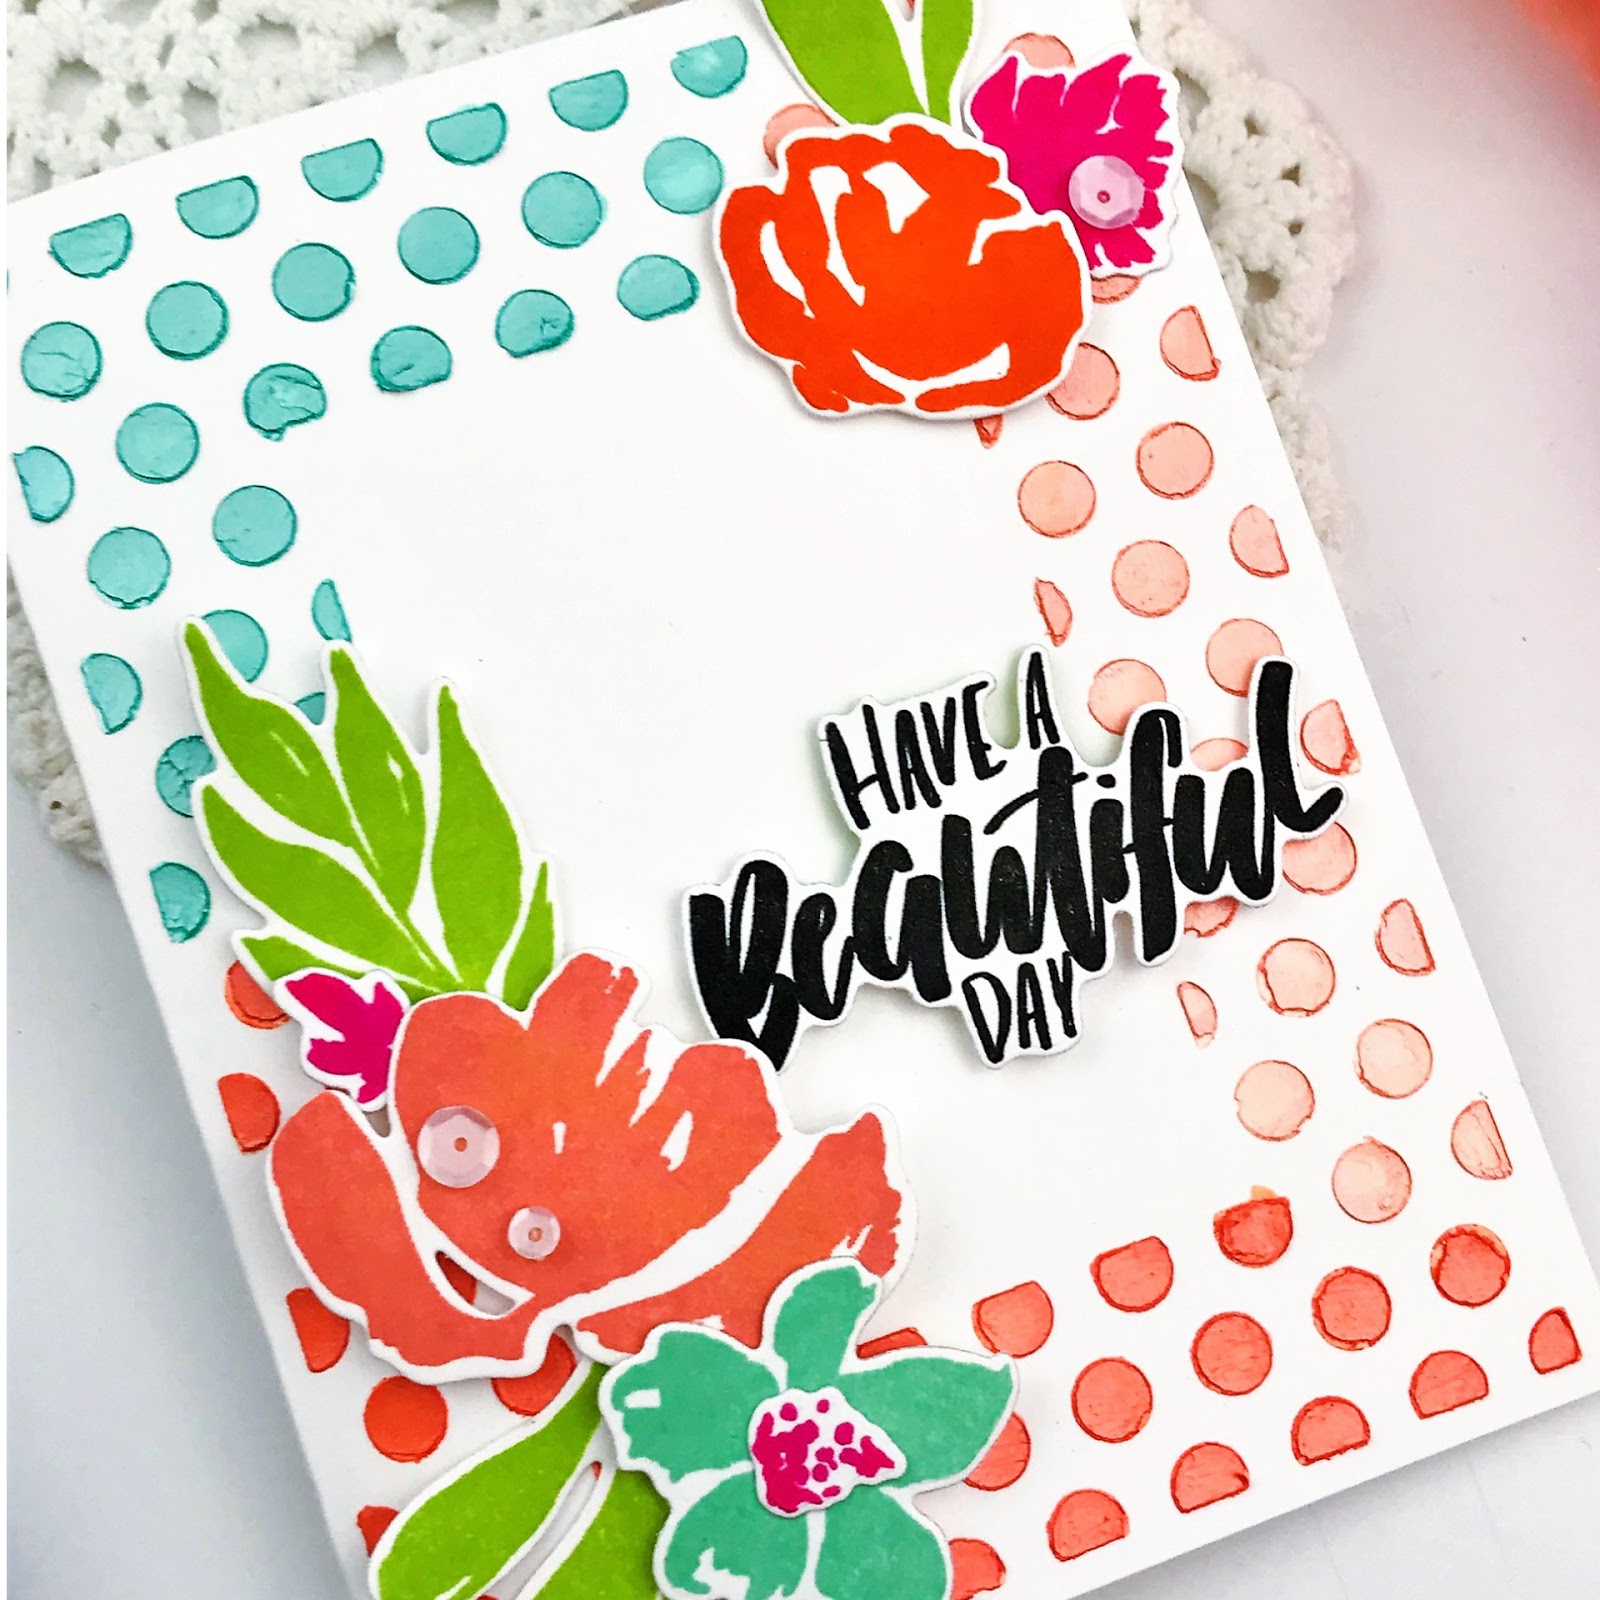
Now for the fun stuff. Using Nuvo Embellishment Mousse I simply filled in all of those polka dots with three different colors. I find the best coverage for this is to use my fingertip. There may be a better way, but this is what works best for me. And because it was card-stock that I used to create my stencil, and it wasn't securely attached to the front of my card base (only the edges), you might find that it doesn't cover perfectly and bleeds underneath the dots a bit. I'm completely ok with that and love how it has somewhat of a rough look.
After the mousse was dry, I moved onto adding my flowers and sentiment.

I used the Botanical Bounty Stamp Set with the Botanical Bounty Die Collection, along with the Botanical Bounty Sentiments Stamp Set and Botanical Bounty Sentiments Die Collection. Melon Berry, Orange Zest, Aqua Mist and Raspberry Fizz were the colors I used for the flowers and Green Parakeet was used for the leaves.

Here's a peek at my card before I added all of the pretty little flowers! Not completely perfect, but perfect enough for me. :)
Thanks so much for stopping by. I hope you have a wonderful weekend!
xo,
Melissa
Melissa
Love the card. Great background.
ReplyDeleteLove it!
ReplyDeleteGreat idea, extra use for a lot of dies. Could use cutouts as a mask.
ReplyDeleteBeautiful card and colors! Love your stencil results.
ReplyDeleteThought this was a lovely card. I have and love this die. Thanks for the extend a die tip.
ReplyDeleteHi Melissa! Another fav! This has to be the only bold borders that I didn't purchase. Dang it! And using the mousse, goodness- what a FANTASTIC & TOTALLY CLEVER way to design your card. I LOVE the rough look too, although it doesn't really look rough. I think it's FABULOUS! I may sound over the top with my compliments but they are sincere!!!!! :) Thanks so much for sharing your talent!
ReplyDelete